Easy Way to Delete QTP Result Folders Using Test Results Deletion Tool
Many a times when we are creating a QTP script, we tend to run it many number of times to validate small portions / functionalities in the script. And most of the times while running the test script, we let the settings in Run Dialog box remain as it is. In the Run Dialog Box, if ‘New run results folder’ option is selected, a new Result folder is created within your Test Case folder every time the test case is run.

QTP Run Dialog Box
The issue with this run setting is that unnecessary Result folders keep piling up in your Test Case folders and increase the size of your automation framework folder. To deal with this issue, you can always open your Test Case folders and delete all the Results folders saved within them. But directly deleting the result folders may sometimes result in the accidental deletion of some other necessary files/folders.
Rather than using this method, you can use QTP’s ‘Test Result Deletion Tool’ to delete the Result Folders. Lets see how this can be done.
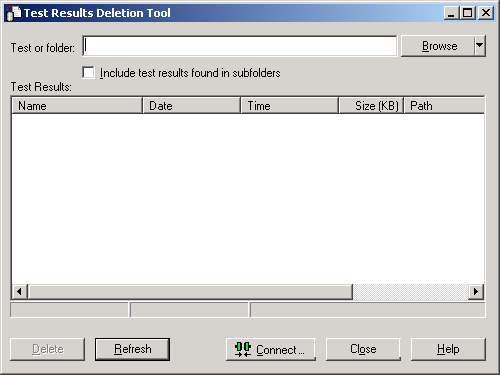
1. Go to Start -> All Programs -> HP QuickTest Professional -> Tools -> Test Result Deletion Tool.

Test Results Deletion Tool
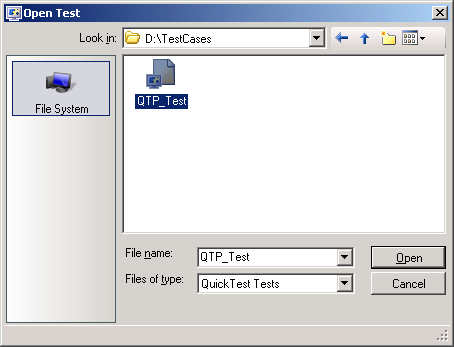
2. Click on Browse button and navigate to the test script folder where the result folders are saved.

Open Test Dialog Box
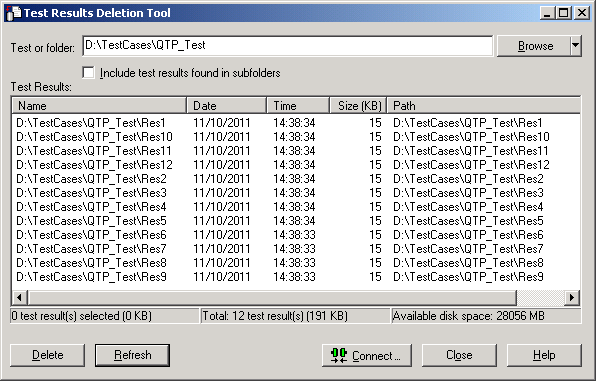
3. Open the QTP test script. All the result folders saved inside the test script folder get listed in the Test Results Deletion Tool.

Test Result Folder List
4. Select all the entries from the Test Result Deletion Tool and click on Delete button. All the selected result folders would get deleted.
If you liked this article, you can join our blog to get free email updates directly in your inbox.


